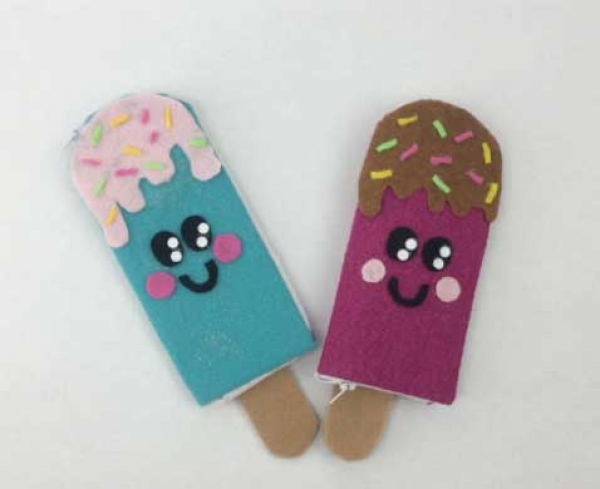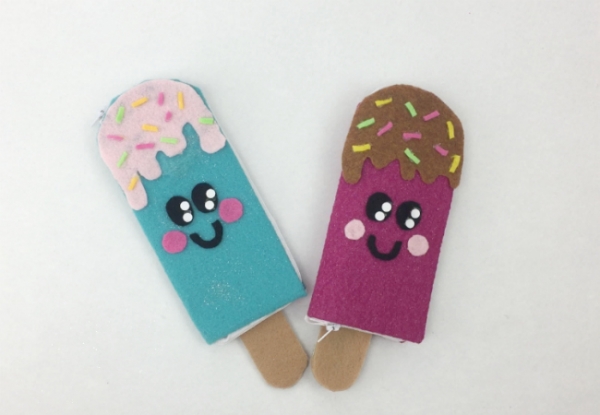
If your child loves unique and original school supplies, this DIY ice cream bar pencil case is perfect. Before they get back to the books, get crafty with one of these cute pencil holders.
Materials:
14 Inch Zipper
Felt Paper
Folder
Hot Glue
Ruler
Pencil
Scissors
Directions:
1. Measure out a base for the pencil case on one side of the folder. 2 rectangles connected, measuring at 7.5 inches X 3.5 inches. Measure out 2.5 in X 1.5 in for the cone. Cut both out.

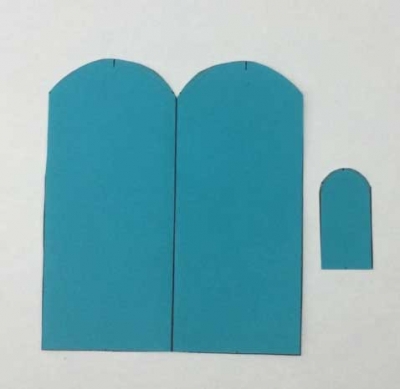
2. Cut the same measurements in 2 colors of felt. One is for the outside and the other is for the inside, leave half an inch longer length around all sides. Measure and cut the cone out in a light brown shade of felt.

3. Glue the outside color to the felt paper. When gluing the edges, fold the access and cut it. This will give you a crisper edge when gluing. Then glue your cone, covered in brown felt, on the edge of one side.
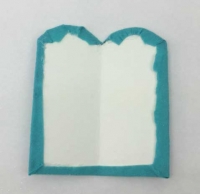
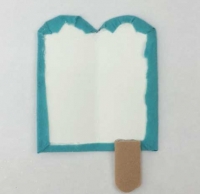
4. Glue one side of the zipper to one side of the pencil case, then unzip the zipper and glue it to the other side of the pencil case.
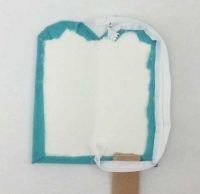
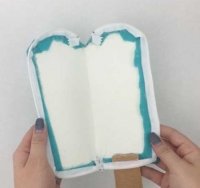
5. Glue the inside layer on top of the zipper and cone. Make sure the zipper works and shut the case.
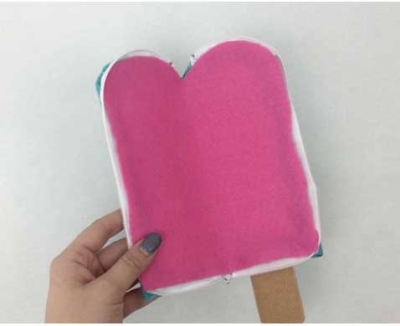
6. Decorate! Cut out shapes for the chocolate or strawberry syrup, eyes, blush, sprinkles, and a smiley face out of felt and glue them on top, and then your done!
