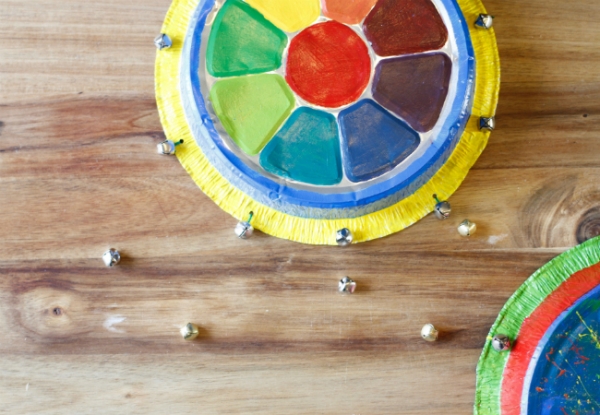
Keep your kids entertained with these adorable, simple, homemade tambourines made with items from around the house. They are easily customizable with glitter, colors, sounds, shapes, and imagination. It’s a unique, kid friendly music appreciation craft sure to keep children entertained with their very own jam session!
Materials:
1 Circle Foil Tray
Colorful String
Paint
Bells
Directions:
- Flip the circle foil tray over so that the “bottom” is facing up. Let your kids paint and draw all over it! Use glow in the dark paint for a fun surprise, or glitter.
- Use a single hole punch and go around the edges of the tray, leaving 6-8 inches in between each hole punch.
- Cut 4-6 inch pieces of ribbon. We punched out 8 holes, so needed 8 pieces of string.
- Tie bells onto one end of each string. Then tie the other end of the string to the tambourine using the holes you punched out earlier.
- Let your kids play, or create a band, and use them just like normal tambourines!

Jenna is a staff writer and production assistant at Creative Child Magazine. She is currently attending University of Nevada - Las Vegas.
