
Handprint art is always a wonderful way to get creative while documenting a moment in your little one's childhood (their hands will never be as tiny as they are now!). Whether you've been pulling all of your seasonal decor from the attic— decorating your house with #PumpkinEverything—or you're more of a minimalist, this fall hand wreath is a home decor accent piece with a personal touch that you and the kids will love making and displaying! If you have multiple children, they can contribute their handprints to one wreath or they can each make their own.
SUPPLIES:
Pencil (to trace your hand)
Construction paper
Yarn
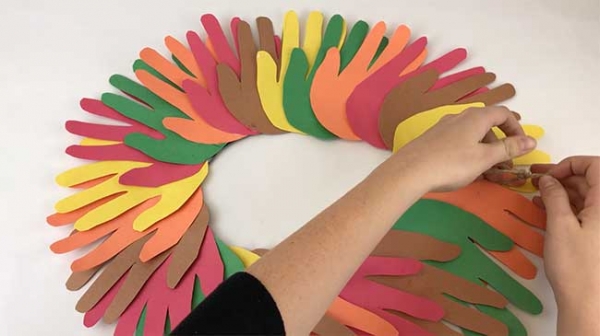
Glue
Scissors
STEP 1: Trace your hand on a piece of paper. Cut it out and use as a stencil to cut your handprint out multiple times on colorful construction paper.
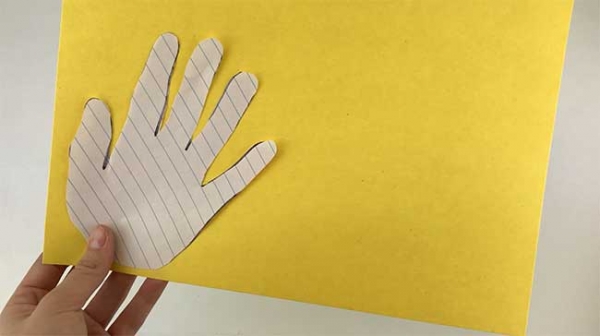
STEP 2: Cut about 3-4 handprints in each color.

STEP 3: With two sheets of black paper, cut out a horseshoe on each sheet. Glue the ends together.
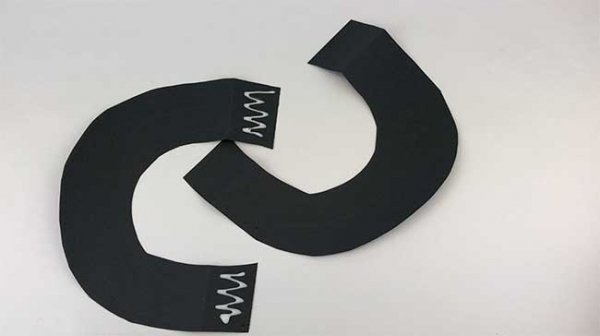
STEP 4: It should look like an oval or a circle when the two pieces are glued together.
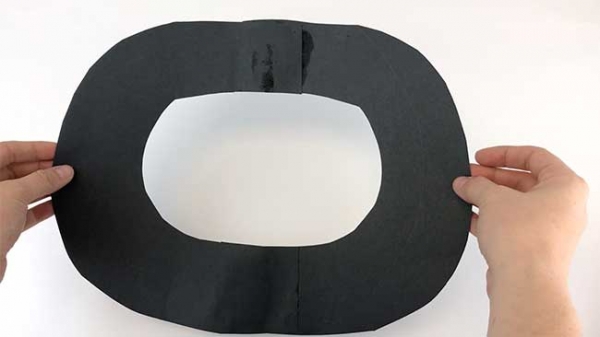
STEP 5: Let the glue dry. Then add a diagonal line of glue to attach the colorful handprints.

STEP 6: Do this for each handprint.
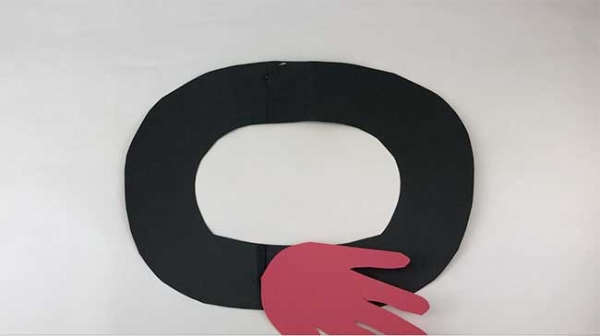
STEP 7: Once they are all attached to the black paper, attach a string at the top of the oval or circle.
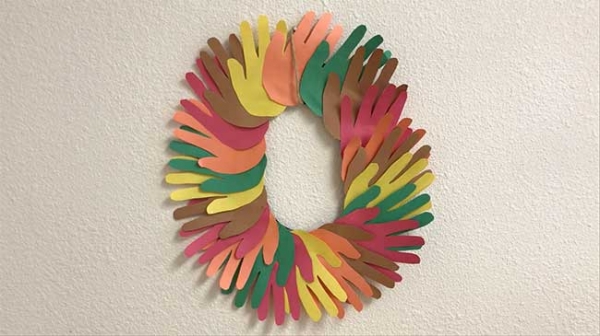
STEP 8: Hang it on your front door or any wall in your house!
Check out the video!